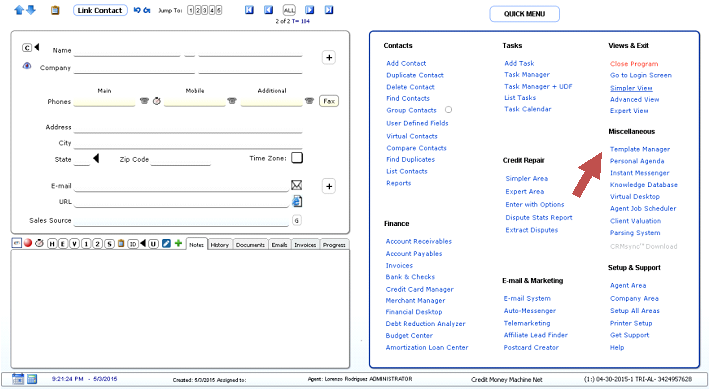
| From the Quick Menu: Enter in the Company area |
|
 |
| |
| |
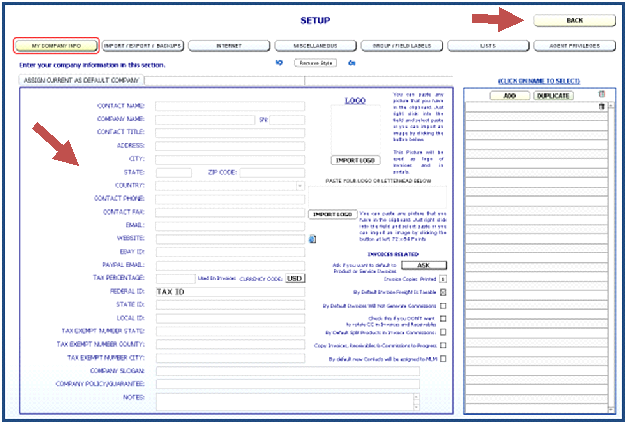
| Once, in the Setup area enter as much information possible about your company. |
| Once finished click the Back button to exit |
 |
| |
| |
| Now, click on “Enter Personal Information” |
|
 |
| |
| |
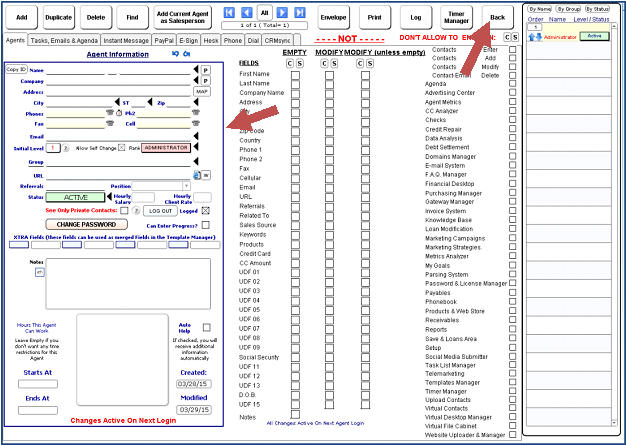
| Once here, enter your personal information |
| At least, your name, phone, email and position.
Click the Back button to return to the Quick Menu. |
 |
| |
| |
| Now, click the Template Manager button. |
|
 |
| |
| |
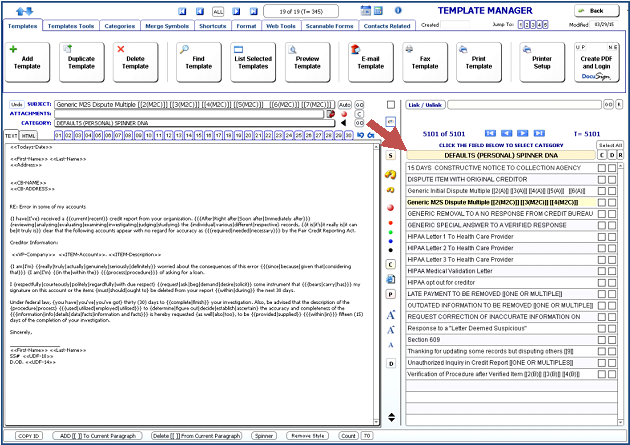
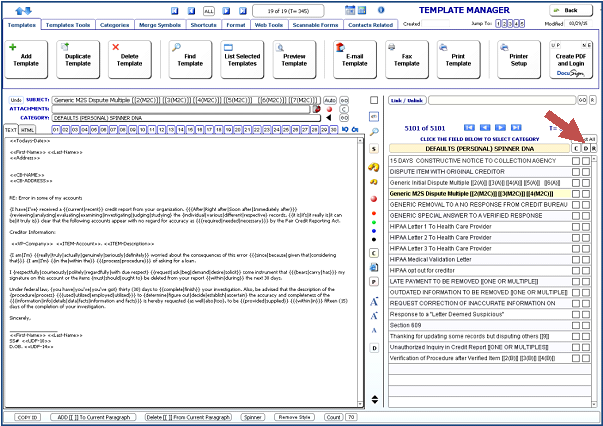
| Click on the Category field and select “DEFAULTS (PERSONAL) SPINNER DNA” |
|
 |
| |
| |
| Now, click on the “D” button at the top of the rightmost column. |
|
 |
| |
| |
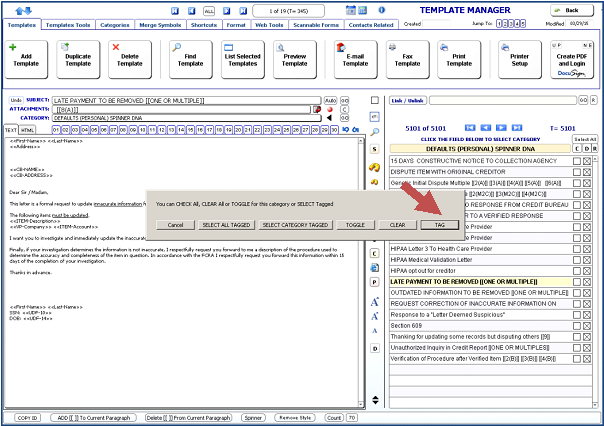
| Then, click on TAG to check all boxes in the column. |
|
 |
| |
| |
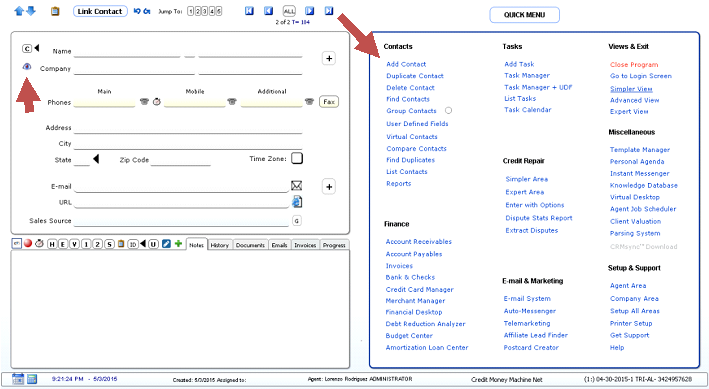
| Now, click “Add Client” to add your first client. |
| Notice the 3 letters “C” that stand for Client and the “C” at the left of the name field. |
 |
| |
| |
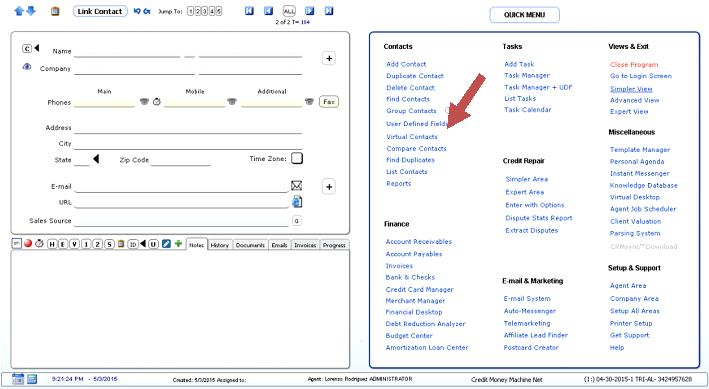
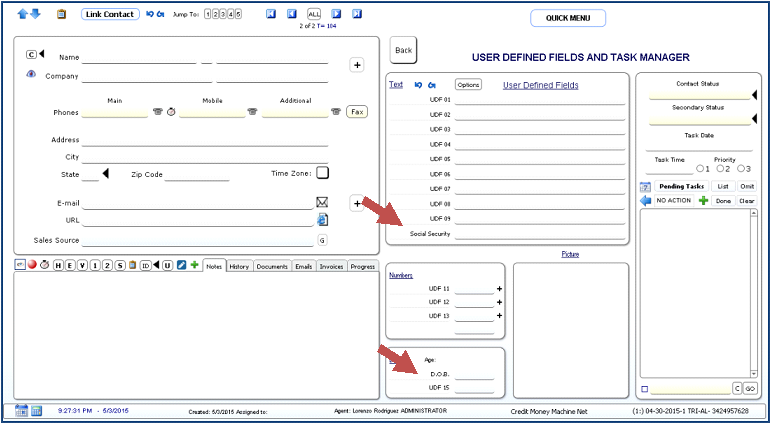
| Click the User Defined Fields Link to enter the Social Security and Date of Birth of your client. |
|
 |
| |
| |
| Enter the data of your client including the Social Security and Date of Birth as appropriate. |
|
 |
| |
| |
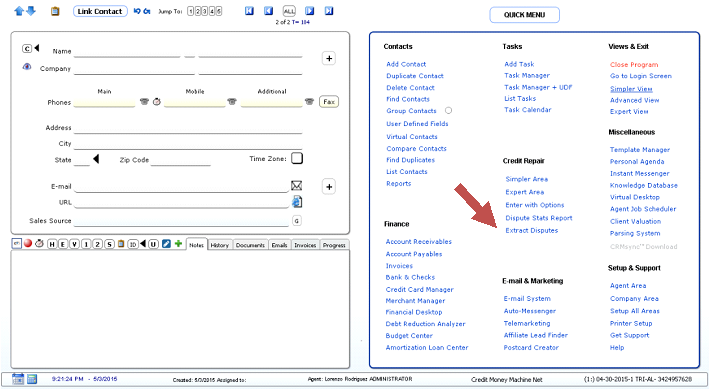
| Now, click “Extract Disputes” to enter the extraction area. |
|
 |
| |
| |
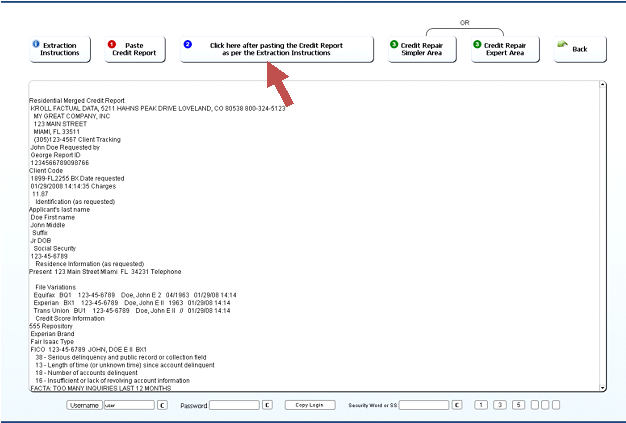
| Once here, read the extraction instructions to know how to copy the credit report of your client into the Credit Money Machine. |
| As test use www.aoox.com/crsample Grab the report by clicking Control+a and then Control+c to copy it to the Windows clipboard. |
 |
| |
| |
| Now, click “Paste Credit Report” to paste the report from the Windows Clipboard. |
|
 |
| |
| |
| Then, click on the button identified with #2 to extract the Disputes from the Credit Report. |
|
 |
| |
| |
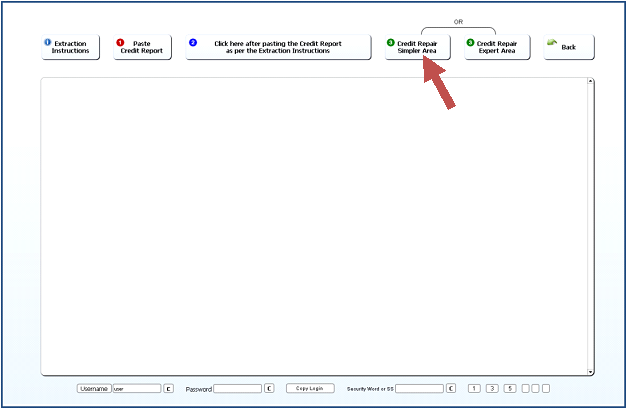
| Once the screen becomes blank again, click one of the buttons identified with #3 to see the disputes extracted. |
| In this case we will select the number #3 at the left. |
 |
| |
| |
| Now, you should be seeing all disputes extracted. Click on Print Setup to select your printer. |
|
 |
| |
| |
| While there are many options in this screen, the default functionality would be to click the “Find All Due to Print” button (#2 button). |
|
 |
| |
| |
| After clicking #2, the disputes due will be selected then click “Print Disputes” (#3 button) to print them. |
| You should choose SELECTED from the dialog. |
 |
| |
| |
| Once the Disputes are printed, the status will change to IN PROGRESS and you will receive instructions on what to do next like printing envelopes, etc. |
|
 |
| |
| |
| At this point, our advise is to explore the many capabilities of the software. |
| Many icons will provide information by hovering the mouse on top of them. |
 |
| |
| |